
Are you feeling it?? Spring is around the corner, just begging to pop in! Recently I’ve been getting together with friends to do craft projects, and the consensus for our next project was a spring wreath.
I have been browsing tons of ideas, and was drawn to the ones with tulips, and loved them bunched onto the side of the wreath. And so I jumped right in and made a Spring Tulip Wreath – and I’m in love with it! It was perfect timing, because the challenge as part of the Michael’s Makers team this month was a spring floral refresh.
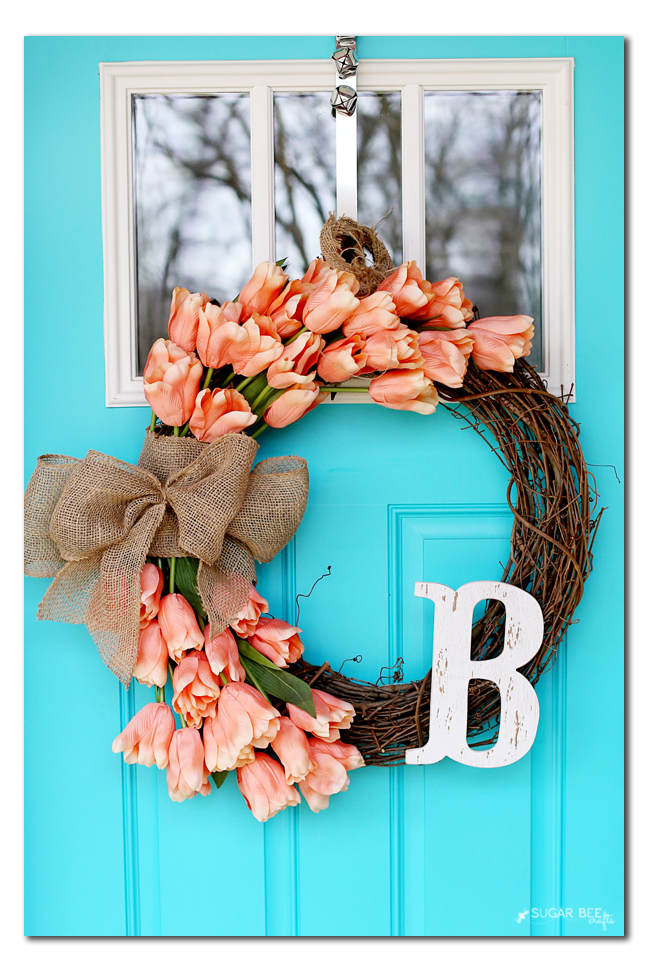
 Just by swapping out a few décor pieces or adding a lovely floral arrangement can completely transform your home for the fresh, new season. And it was a for-sure that my front door wreath needed swapped out – it was my fall wreath and had been up since way before Christmas, oops!! It was so nice to swap it out for something light and fresh. (Although I did forget to grab a new wreath hanger, so just ignore those jingle bells, ha!)
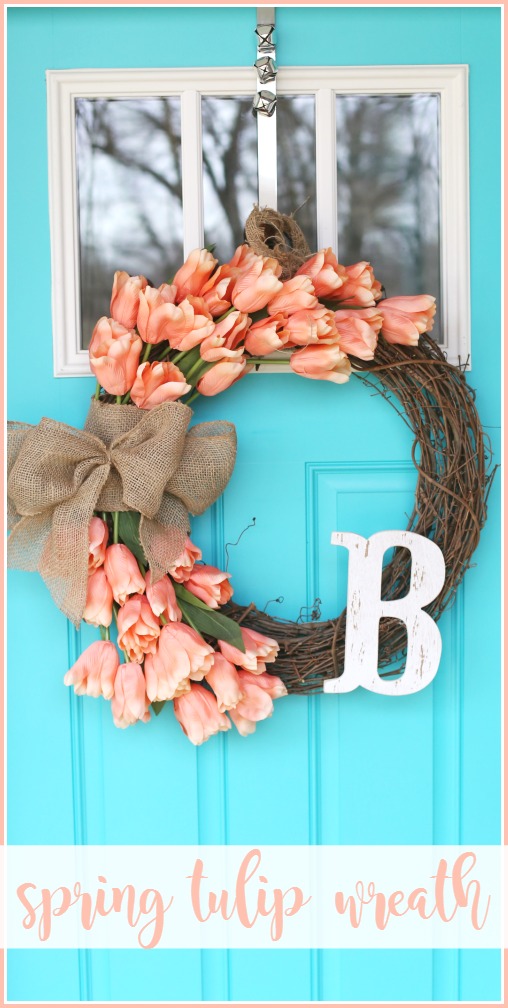 Michaels new Floral Market has over 500 new blooms and freshly picked projects make this the prettiest spring ever. You can use that link to check it out right online and plan your project, perfect! I love the pinky-orange flowers and built my wreath around them.
So let’s get started – you’ll need flowers (I ended up using 3 bunches of the large tulips), a grapevine wreath (mine is the 24 inch size), burlap or ribbon, and a monogram letter (this new line at Michaels with all the monograms is ah-mazing – I can’t get enough!
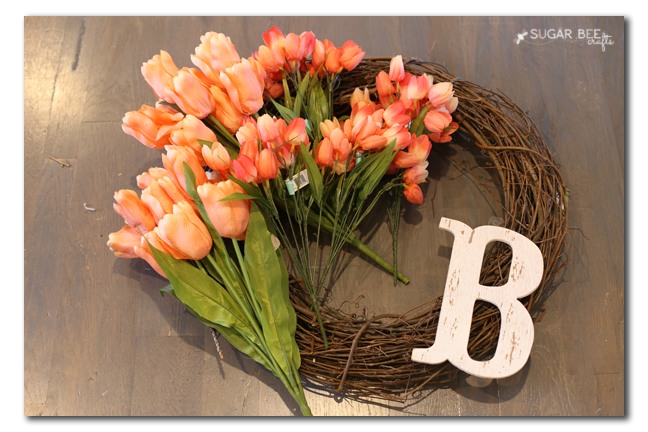
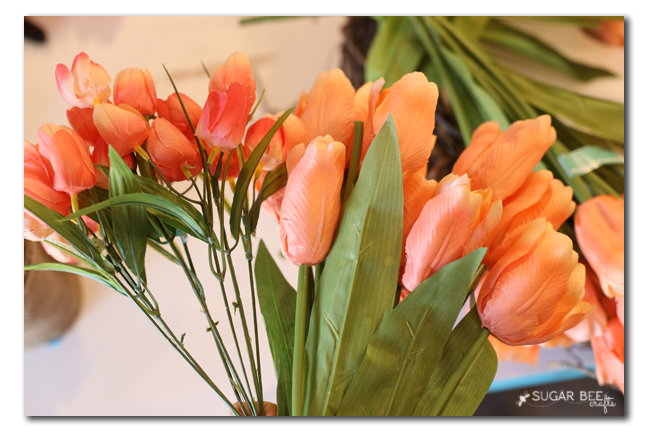
When at the store, I couldn’t decide if I wanted the large tulips, or a bunch of the smaller ones, so I bought both and thought it over at home. I ended up with the larger ones, although the smaller ones would be cute too!
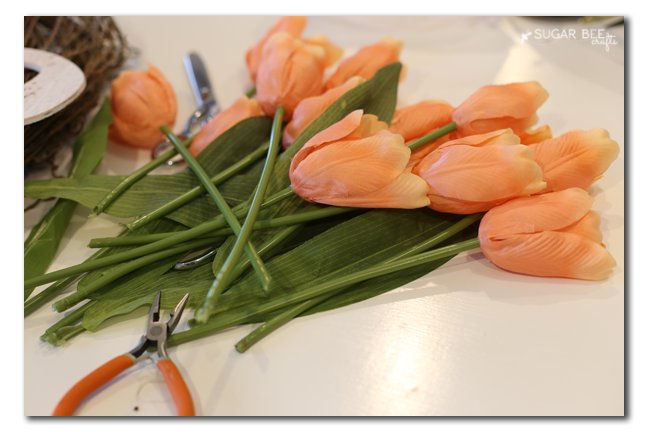
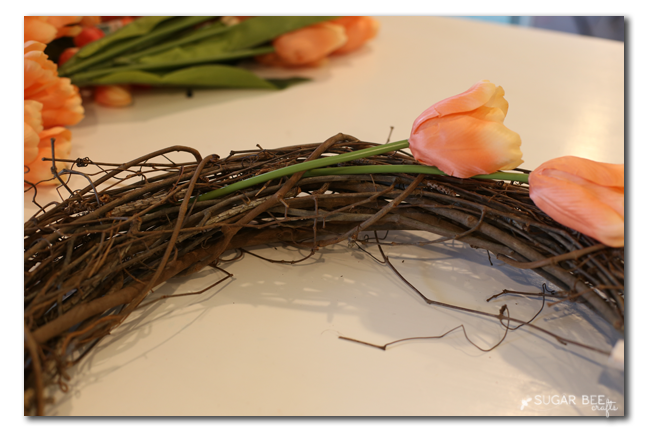
To stagger the flowers around the edge of the wreath, I first had to separate all the flowers from being in the bunches. I used really sharp scissors – wire cutters would also work.
Then I just started placing the flowers where I thought they should go. I wove the stems into the wreath as shown below:
And then just keep adding and adding flowers. Once they were all added, they were pretty secure. If you feel like you need it, you can use hot glue to keep them in place.

Next up, I wrapped the side of the wreath in burlap, covering the area where you could see lots of the stems. Then I formed a bow out of burlap and hot glued that on to my wreath.
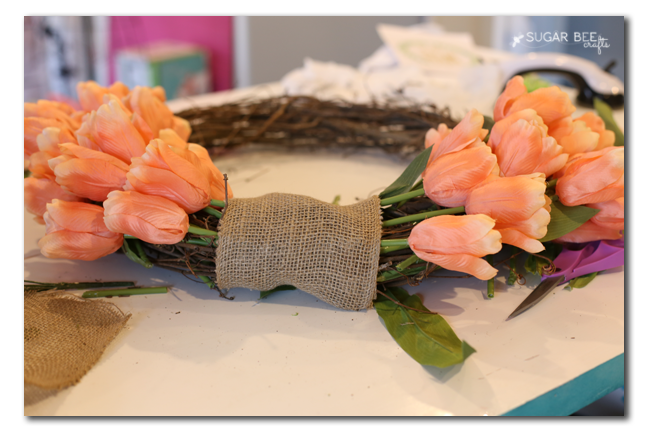
For the monogram, I just hot glued that on as well – you need a pretty good amount of hot glue since the wreath isn’t a flat surface, but it worked for me.

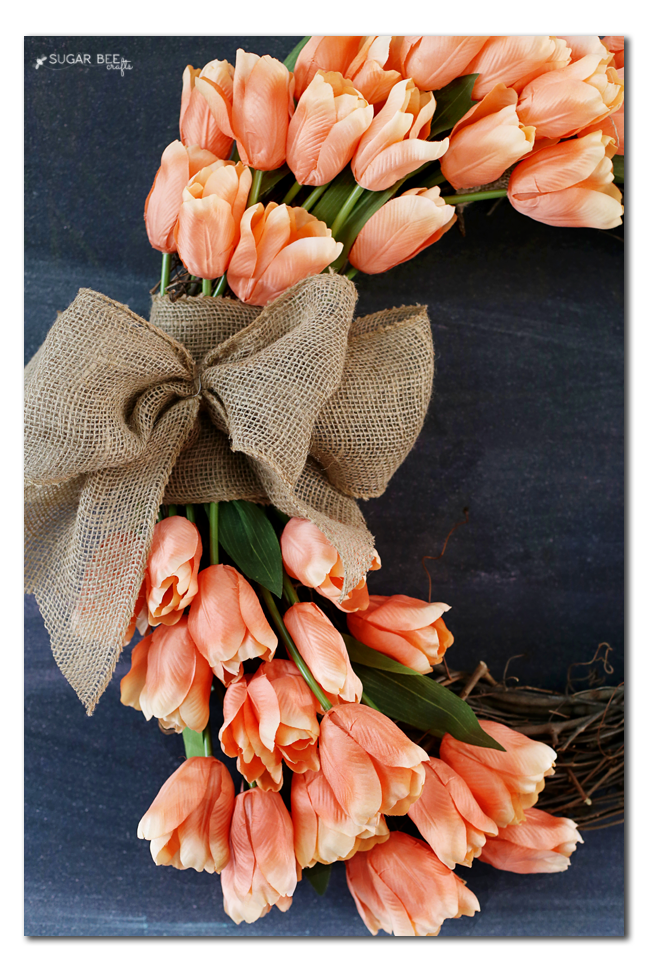
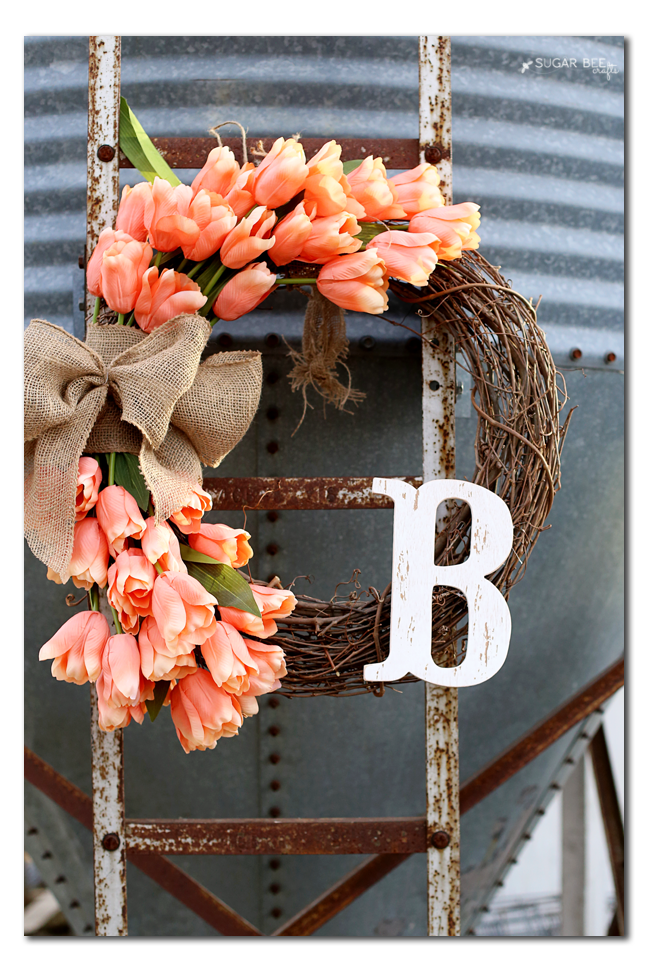
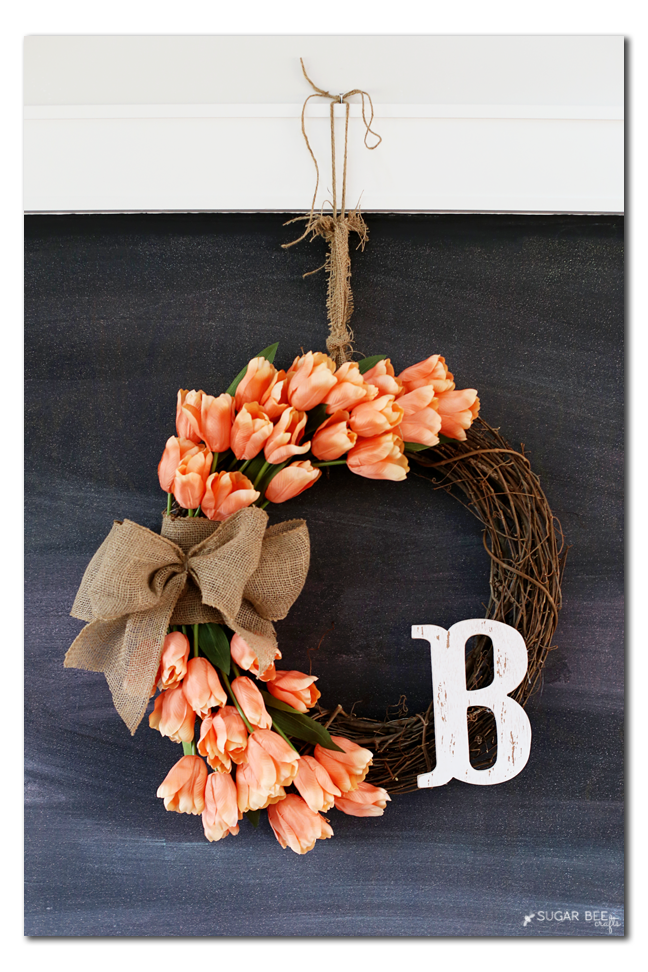
I just love the way the flowers curve around the side of the wreath. It takes the classic feel of tulips and gives them a modern twist.
This wreath looks amazing ANYWHERE – when taking project pics, I tried several different backgrounds to see which I’d like best… it made it too hard to decide because I liked them ALL!!
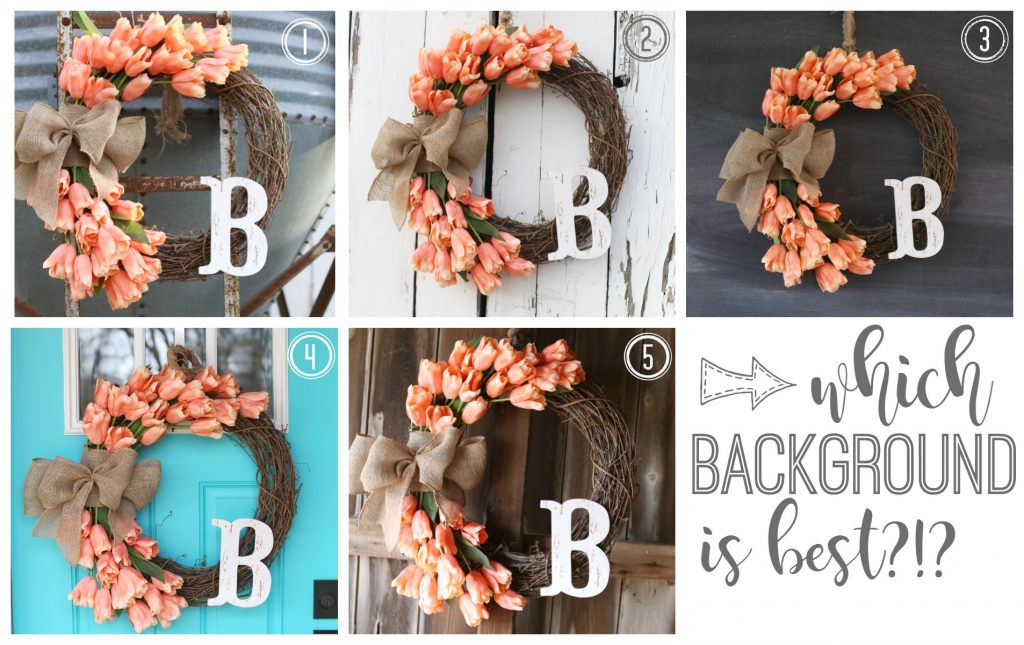
So I’ve got them all here – that way you can pin your favorite 


So fun to be a part of the Spring Refresh Challenge!!

0 Comments